Have you ever felt your Instagram stories look dark or dull compared to others even when you use the same phone and filters
The truth is it’s not about filters or editing apps. The real difference is lighting
In this blog you will learn practical portrait lighting tips to make your Instagram stories look bright clear and professional. These are straightforward techniques you can start using today without buying expensive studio equipment
Why Good Lighting Makes Your Instagram Stories Stand Out
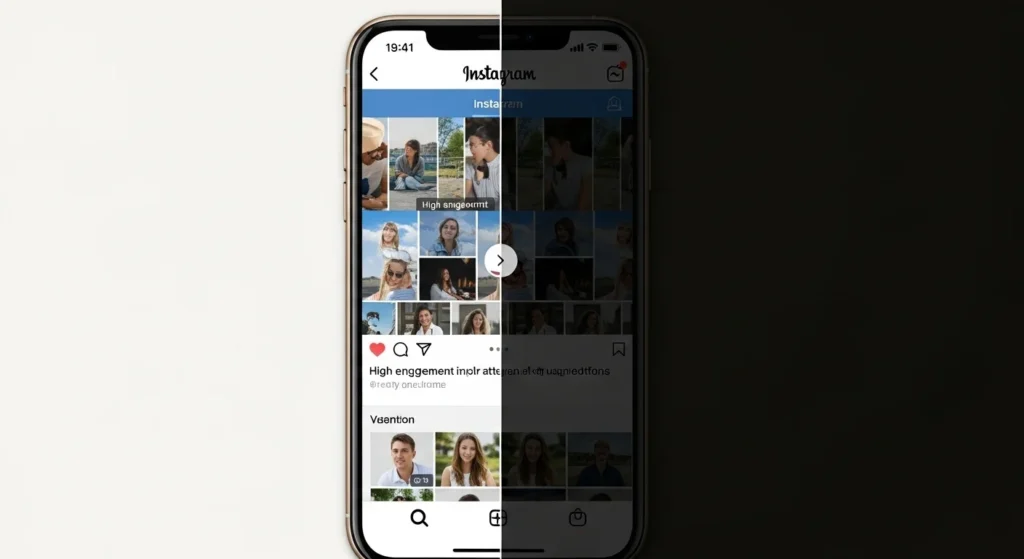
Lighting affects how your face appears on camera, how your skin tone looks and how clear your video quality is
If your lighting is poor
- Shadows appear under your eyes
- Your skin tone looks uneven
- Videos become grainy especially in low light
On the other hand good lighting
- Makes you look confident and approachable
- Enhances your natural skin tone
- Keeps viewers engaged instead of skipping
Natural Lighting Hacks For Recording Bright Instagram
Natural light is your best bet for recording stories if you don’t have ring lights or LED panels. Here’s how to make the best of it
1. Always record in front of the window
Position yourself such that light hits you directly. Morning or late afternoon light is best since it is softer and warmer
2. Never record with the window behind you
Backlighting casts your face as a shadow and decreases definition
3. Film at golden hour for a warm soft natural light
Golden hour is early morning after sunrise or late afternoon before sundown. This light flatters everybody’s skin tones and makes stories look beautiful
4. Soften harsh sunlight with curtains or sheer fabric
If too much direct sunlight is present use sheer curtains to soften the light. This eliminates hot shadows and sunny spots
5. Reflect light from a white surface to minimize shadows
If you notice shadows under your chin place a white notebook or paper in front of your face and reflect light upwards
Best Affordable Artificial Lighting Options For Instagram Stories
If you record stories at night or in rooms with poor lighting consider these affordable options
1. Use a ring light for clear even lighting in your stories
Ring lights are popular for a reason. They create uniform lighting around your face and add attractive reflections in your eyes
- Choose a 10 to 12 inch ring light for desk or indoor recording
- Place it slightly above eye level and tilt it downwards to avoid glare
2. Install LED panel lights for stronger adjustable lighting
LED panels provide brighter light and let you control brightness and warmth settings
- Ideal for dark rooms or professional recording setups
- Choose dimmable panels to prevent overexposure
3. Carry a portable clip-on selfie light for quick videos on the go
Clip-on selfie lights attach to your phone instantly and give your face an extra brightness boost in low light conditions
4. Combine ceiling lights with front-facing lights for balanced lighting
Avoid using only ceiling lights as they create shadows under your eyes and chin. Always add a front light source
How To Adjust Lighting Based On Your Skin Tone For Natural Results
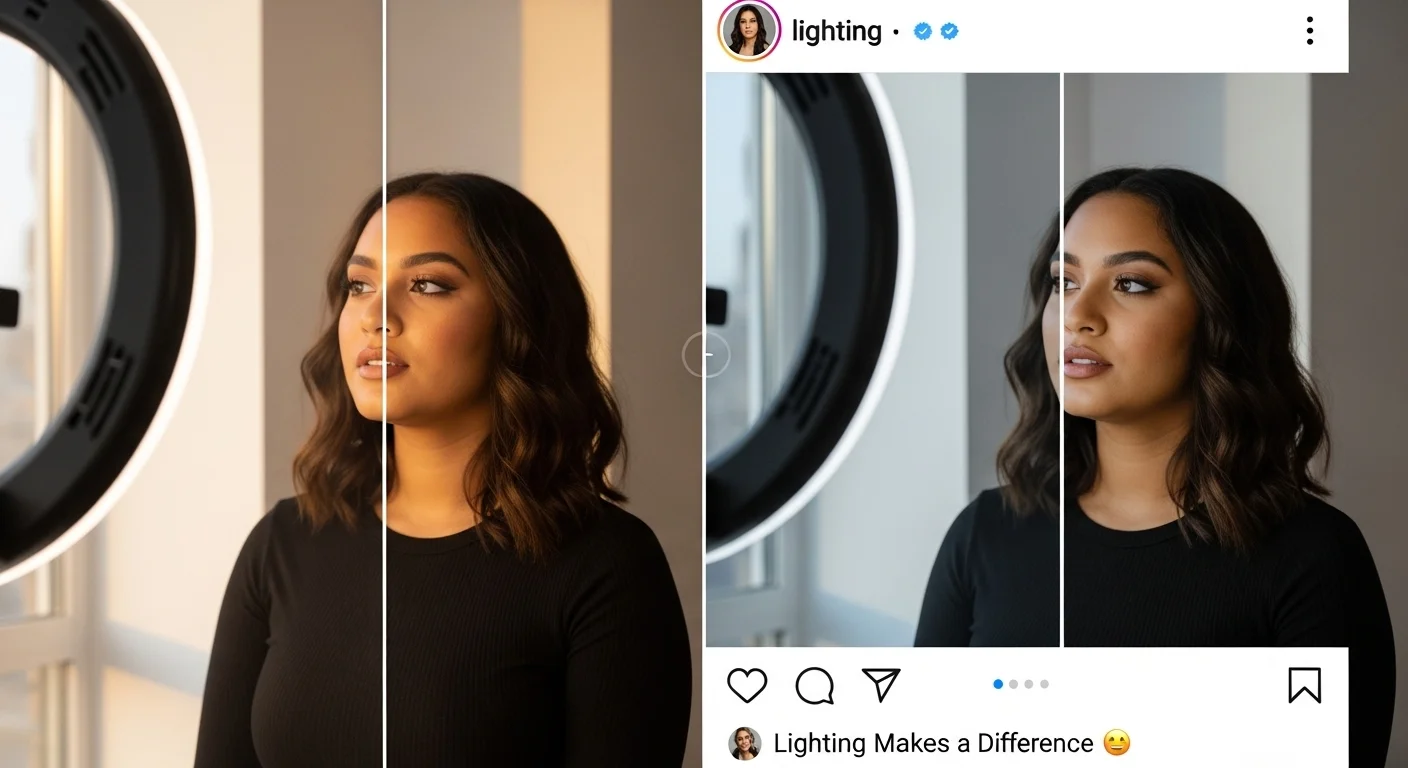
Lighting looks different on different skin tones. Adjust your setup for a natural confident look
- Fair skin tones – Use warmer light settings to avoid looking pale
- Medium skin tones – Neutral tones balance natural hues without changing colours
- Darker skin tones – Brighter warm lighting enhances glow without reflections or shine
Adjust the warmth settings on your ring light or LED panel until your skin looks natural on camera
Indoor Vs Outdoor Lighting Tips
Recording stories indoors
- Combine natural window light with ring light if needed
- Record against plain walls to avoid odd colour reflections
- Keep your background clean and simple to maintain focus on you
Recording stories outdoors
- Keep the sun in front of you or at a slight angle for clear lighting
- Avoid recording under direct midday sun which creates harsh shadows and makes you squint
- Cloudy days are perfect for recording as they diffuse sunlight evenly
Combine Good Lighting With Proper Angles
Lighting alone is not enough. Combine it with proper angles for a confident look
- Keep your phone at eye level or slightly above
- Tilt your chin down slightly to define your jawline
- Relax your shoulders to appear confident and approachable
Tips To Make Your Instagram Stories Unskippable
✔ Clean your camera lens before recording
✔ Test your lighting by recording a few seconds before your actual story
✔ Use tripods or phone stands for stable videos
✔ Speak naturally without forcing expressions or angles
Final Thoughts
Good lighting is not about buying expensive gear. It is about using available light smartly to make your stories look professional and confident
Start with natural lighting and improve gradually with affordable tools like ring lights or selfie lights. Well lit stories increase your chances of gaining followers and keeping viewers engaged
And remember while you’re working on your lighting many people watch stories quietly Tools like ProfileGazer.com allow users to view Instagram stories anonymously without being seen So make sure your stories always look their best for every viewer
FAQs
Q1. What is the best budget lighting setup for Instagram stories
The best budget setup is to use natural daylight by recording while facing a window. If you often record at night invest in a small clip-on selfie light or a basic ring light to keep your videos bright and clear.
Q2. Why does my face look dark in Instagram stories even with filters
Your face looks dark because filters can’t fix poor lighting or harsh shadows. Always keep your main light source in front of you at eye level to brighten your face naturally before using filters.
Q3. Do ring lights really improve Instagram story quality
Yes ring lights make a noticeable difference by creating even lighting on your face. They reduce shadows and add a professional touch to your stories making them more engaging for viewers.

